
Mục tiêu
Setup thành công một demo nhỏ với NextJS Framework; kết hợp với TailwindCSS (utility-first CSS framework); tích hợp module cần thiết cho Frontend development (SASS/SCSS loader, BrowserSync…) giúp việc code frontend nhanh hơn; sau cùng, deploy production bằng Vercel platform.
Cần chuẩn bị
- Cài đặt sẵn NodeJS (v12.0 trở lên), Yarn
- Setup trước một Github Repository cho project để push code deploy
- Hiểu cơ bản về loader, plugins của Webpack
Triển khai
yarn create next-app
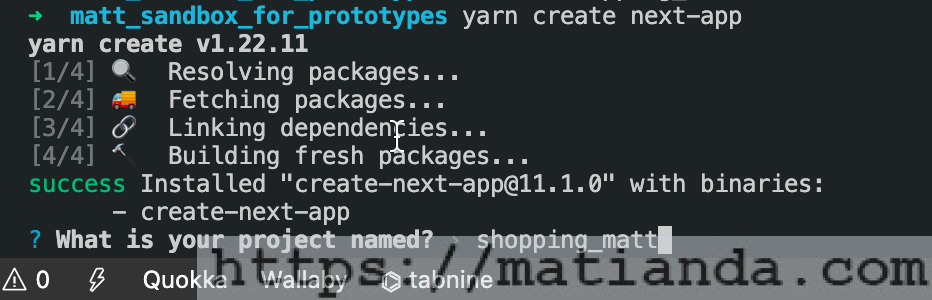
Ở đây mình tạm đặt tên project là shopping_matt (các bạn có thể đặt gì tuỳ ý nhé)
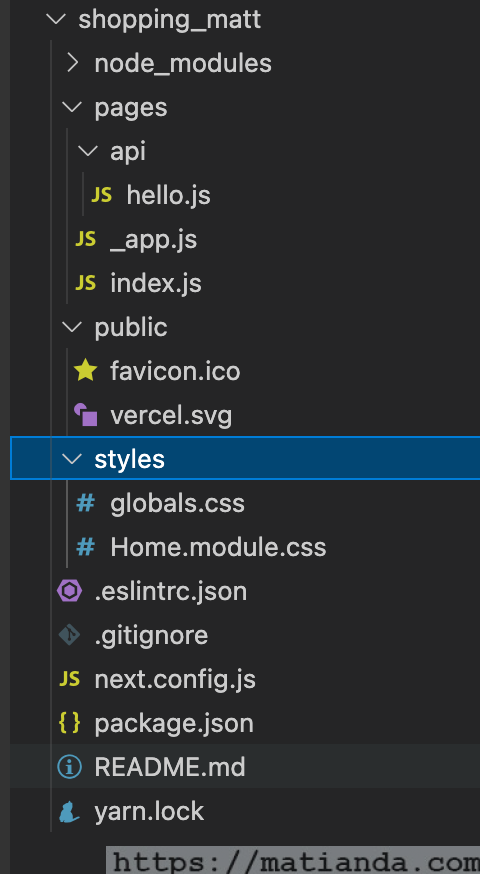
Sau khi đợi cài đặt xong sẽ thấy cấu trúc source như thế này:
Tiếp theo các bạn thử chạy lệnh sau để start xem hình hài em nó như nào nhé:
yarn start
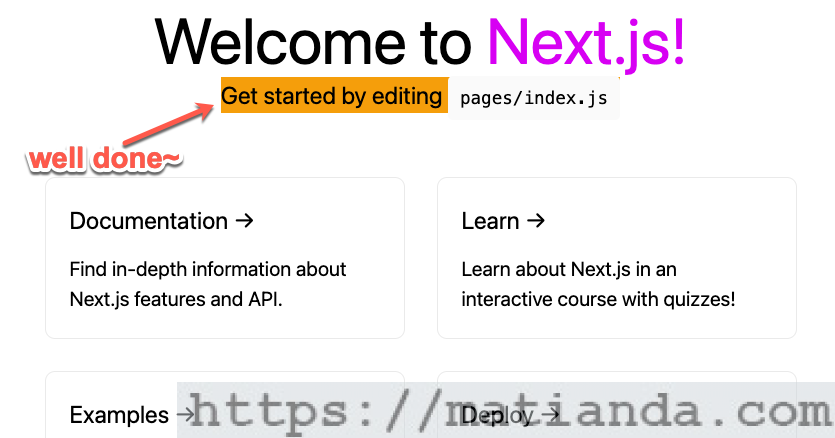
Truy cập vào đường dẫn localhost:3000, sẽ thấy được như sau:

1 Làm sao để setup SCSS module để vừa có thể code CSS hay SCSS đều được?
1- Cài package sass npm:
npm i sass
2- Thử nghiệm chuyển css sang scss:
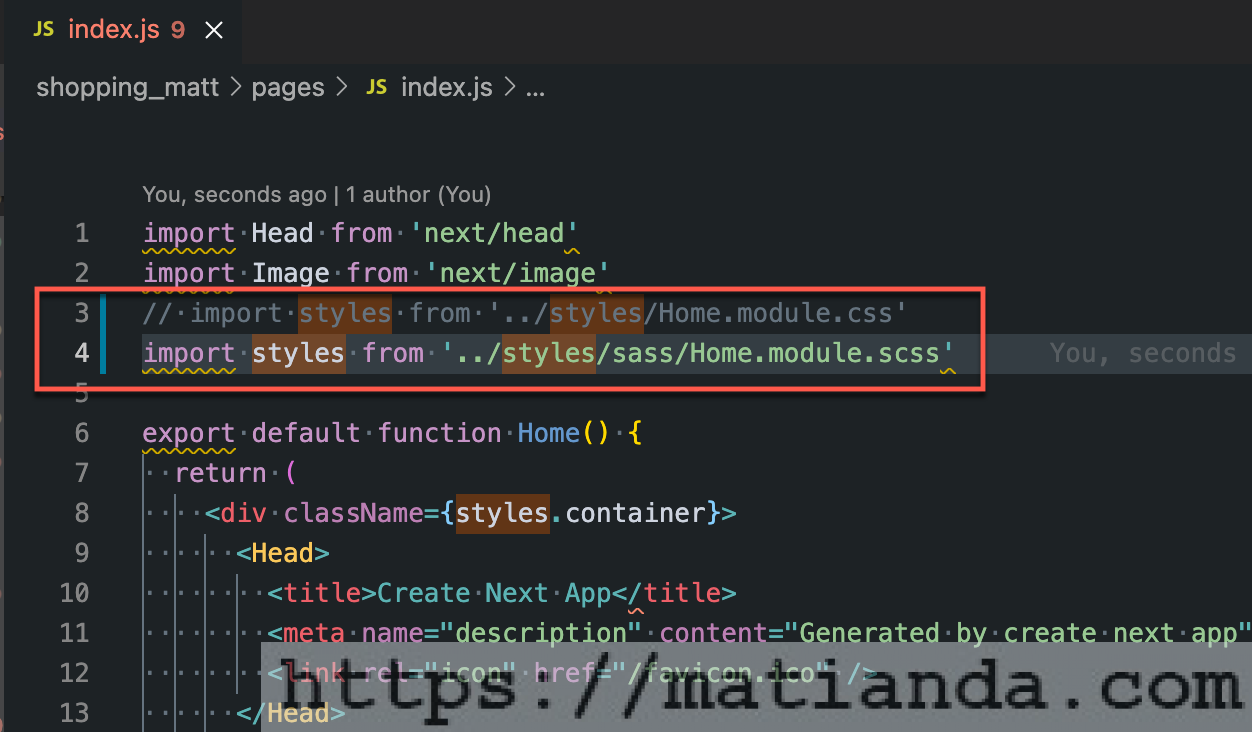
Duplicate file Home.module.css và đổi tên thành Home.module.scss
Sau đó các bạn vào file path/to/pages/index.js, sửa lại code import module như sau:
import styles from '../styles/sass/Home.module.scss'
⚠️ Lưu ý: quy tắc đặt tên cho file styling luôn luôn là:
[name].module.scss
Vì trong NextJS họ sử dụng CSS modules locally scope, lý do là để tránh tình trạng collisions dù cho có sử dụng trùng class name ở các file khác nhau
(các bạn có thể đọc thêm tại đây)
3- Test thử xem file scss mới có work chưa
Mở file Home.module.scss, và chỉnh sửa lại code như sau:
|
1 2 3 4 |
.title a { color: #d700f3; // old: #0070f3 text-decoration: none; } |
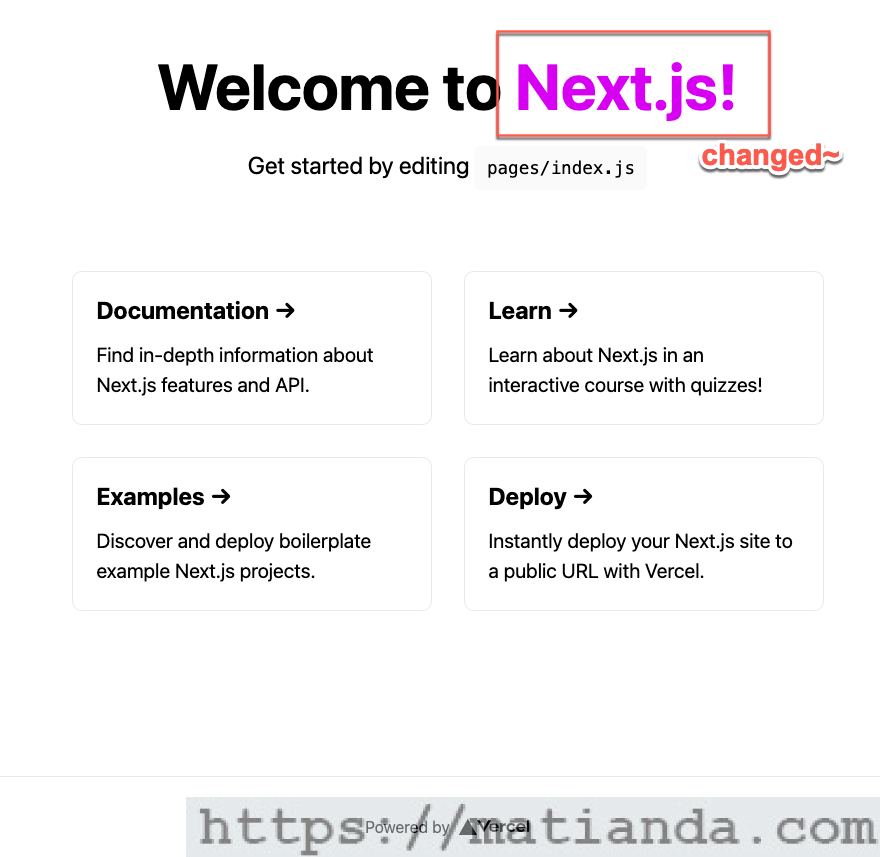
Vậy là chúng ta đã done phần setup module SCSS phục vụ cho việc styling rồi.
2 Làm sao để tích hợp TailwindCSS vào NextJS?
1- Cài đặt package theo khuyến cáo của TailwindCSS (tuỳ theo version NextJS các bạn đang cài)
|
1 2 3 4 5 |
# If you're on Next.js v10 or newer npm install -D tailwindcss@latest postcss@latest autoprefixer@latest # If you're on Next.js v9 or older npm install -D tailwindcss@npm:@tailwindcss/postcss7-compat postcss@^7 autoprefixer@^9 |
2- Generate các file configure cần thiết:
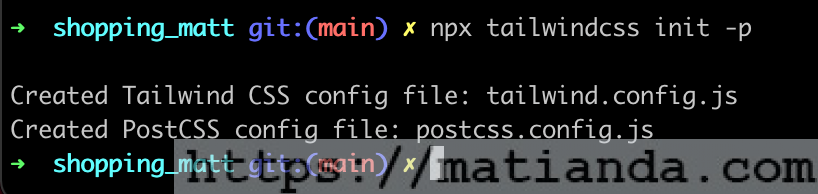
npx tailwindcss init -p
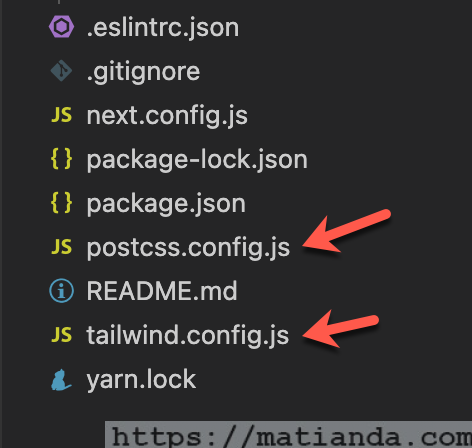
Sau khi chạy thì các bạn sẽ thấy như sau:
3- Chỉnh sửa các file cấu hình tailwind.config.js
Sửa lại config trong option purge, để khi deploy production, Tailwind sẽ tự clear những file không dùng tới trong stylings
|
1 |
purge: ['./pages/**/*.{js,ts,jsx,tsx}', './components/**/*.{js,ts,jsx,tsx}'], |

purge option config
4- Import Tailwind vào project
Mở file path/to/styles/sass/global.scss, và thêm vào các dòng sau:
|
1 2 3 4 |
/* ./styles/sass/global.scss */ @tailwind base; @tailwind components; @tailwind utilities; |
5- Kiểm tra thử xem liệu Tailwind đã được tích hợp thành công chưa
Cách 1: dùng Chrome devtool và thêm thủ công một utility-class vào như sau
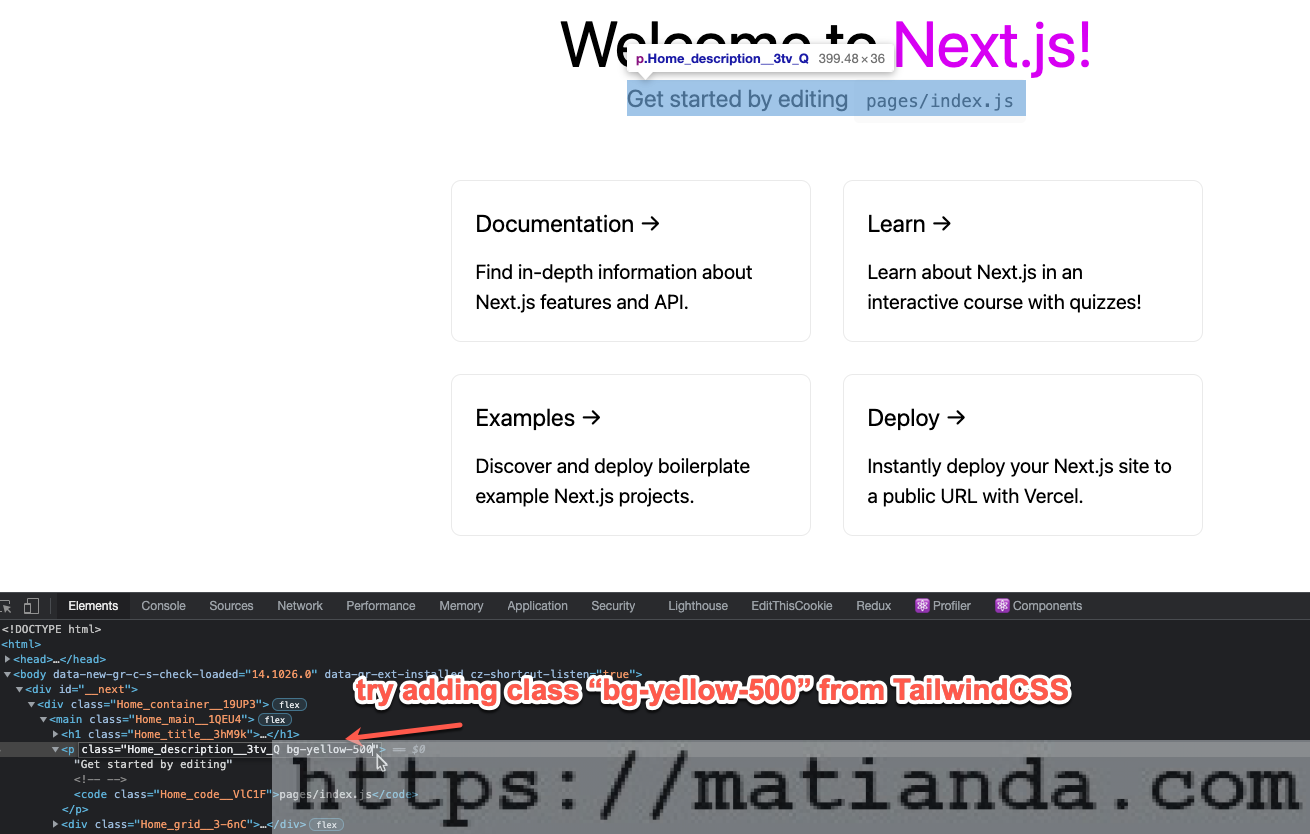
Cách 2: sửa code demo trong file path/to/pages/index.js , bằng cách add thêm một class bg-yellow-500 theo cú pháp sau

Và chúng ta vẫn sẽ nhận được sự thay đổi giống như ở Hình H10 bên trên.
3 Deploy lên server Vercel như thế nào?
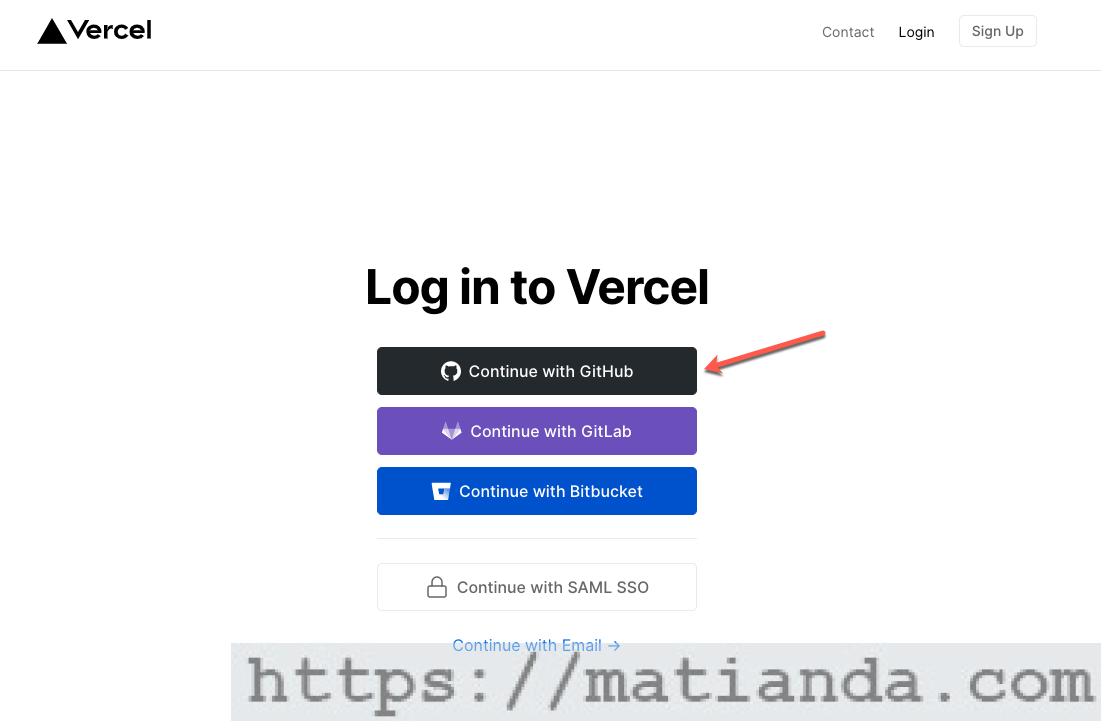
1- Truy cập vào link https://vercel.com/ để đăng nhập hoặc tạo tài khoản
Trong bài viết này thì mình đăng nhập bằng Github:
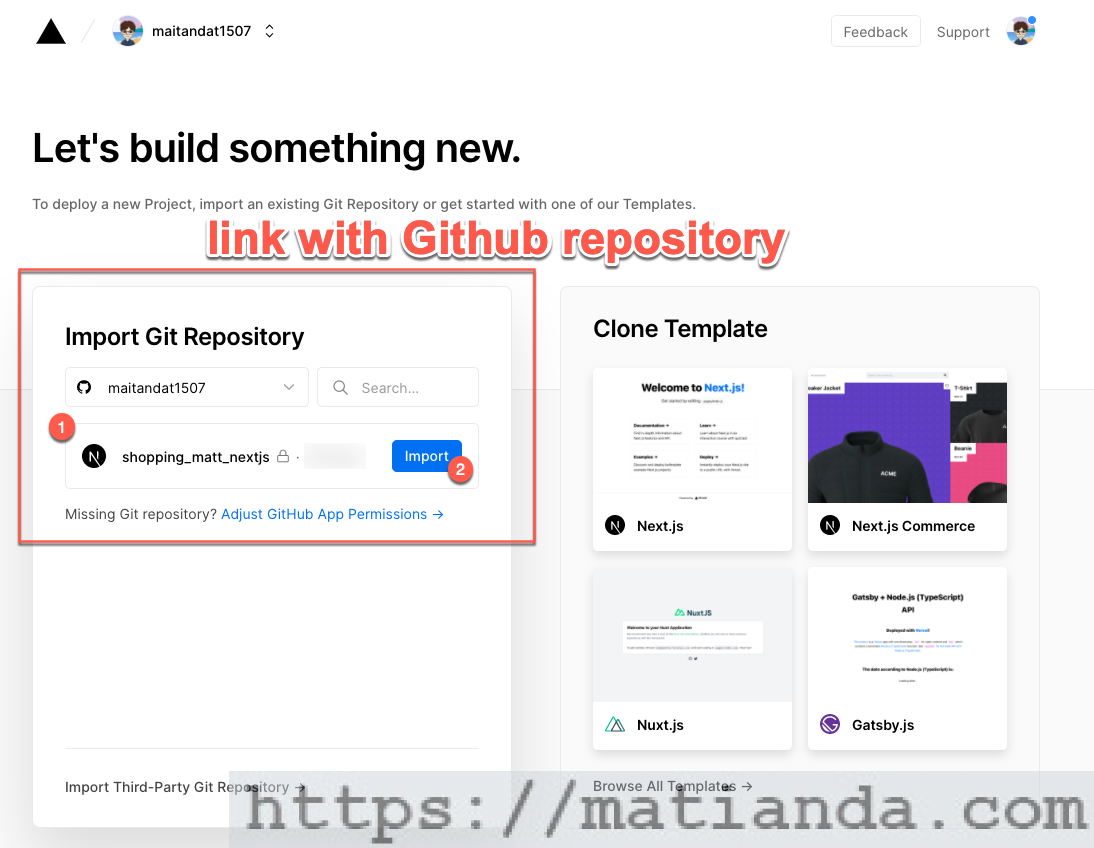
2- Khởi tạo Project và liên kết với Github repo
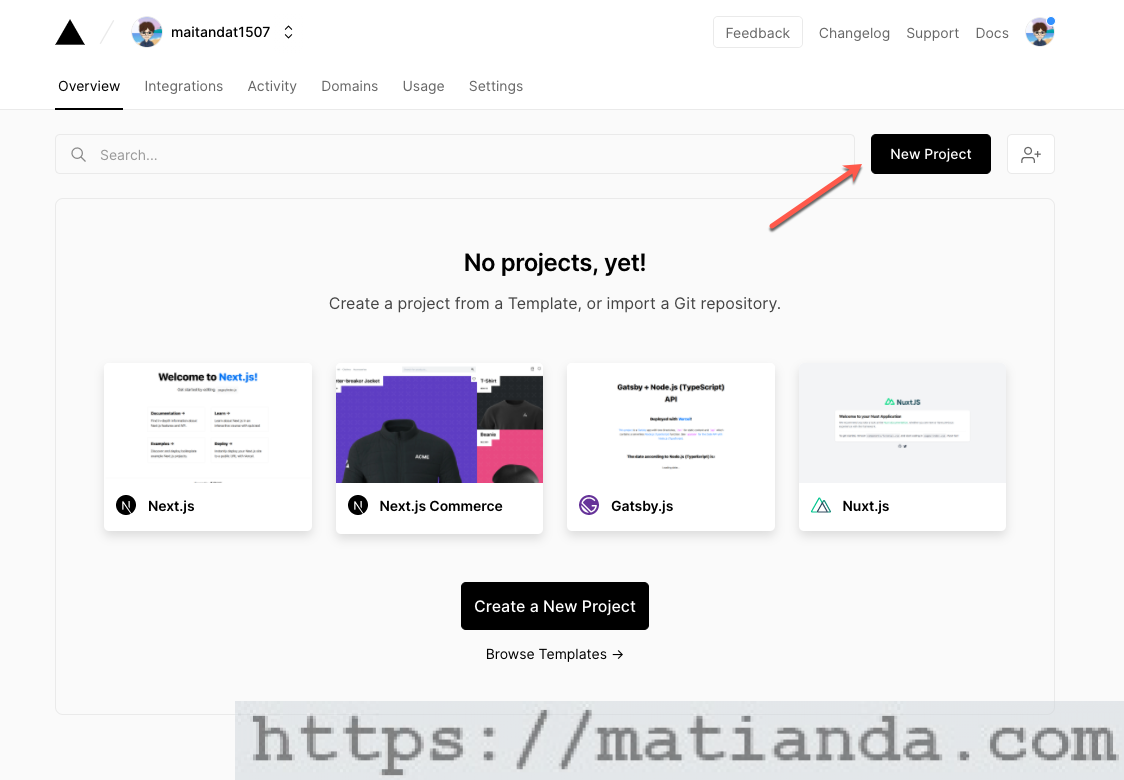
Tiếp theo thì các bạn cấp quyền cho Vercel liên kết với Repo đã tạo bên Github:
3- Tiến hành cấu hình
Sau khi bấm Import thì các bạn sẽ đến bước cấu hình, điền thông tin cũng khá đơn giản:
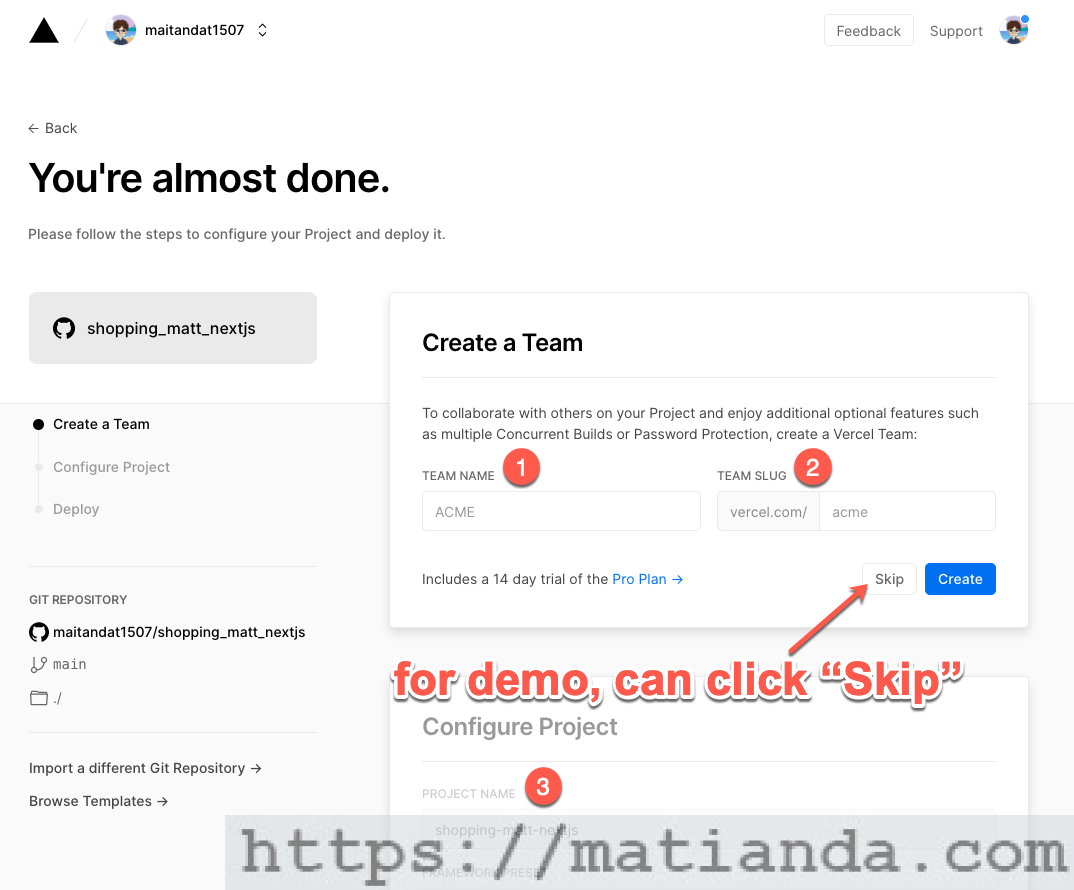
- 1,2: các bạn có thể bấm Skip nếu không có nhu cầu tạo Team (mình cũng vậy hehe)
- 3: đặt tên cho project của các bạn. Ở đây mình đặt là
shopping-matt-nextjs.
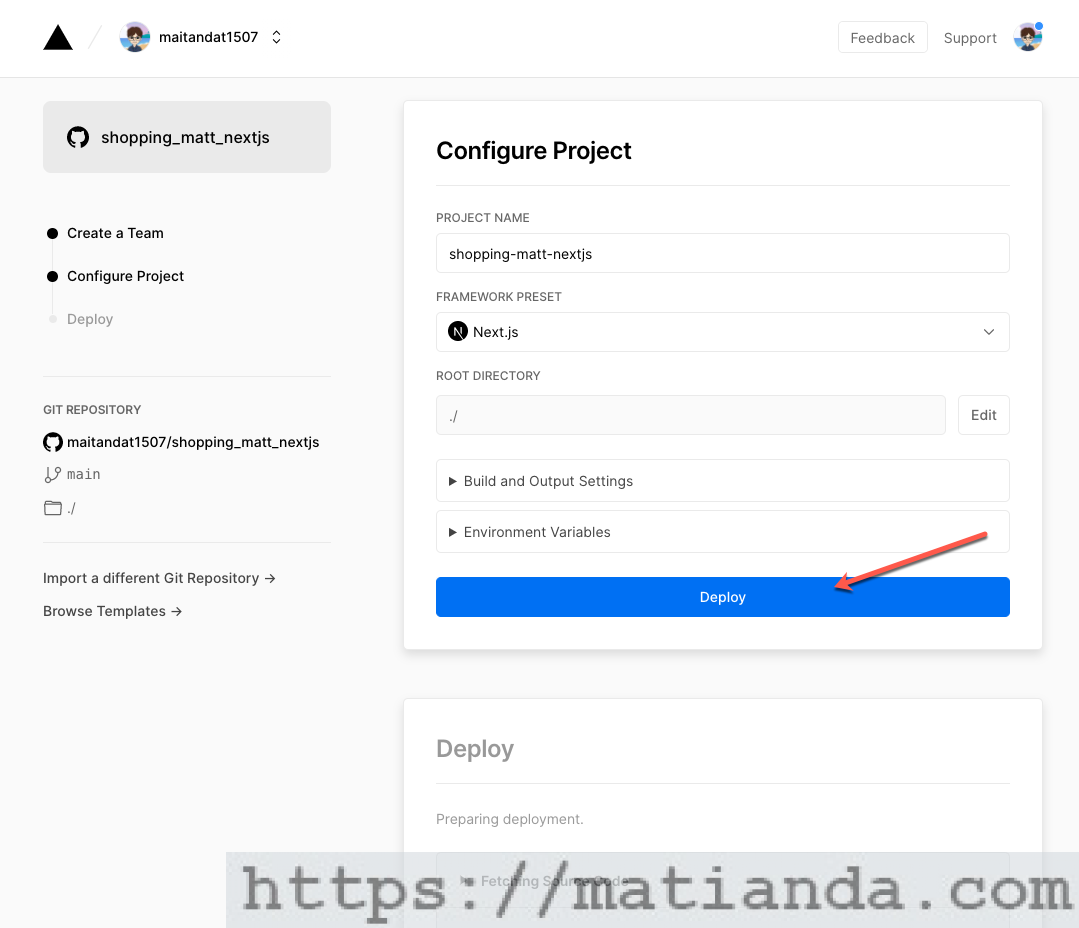
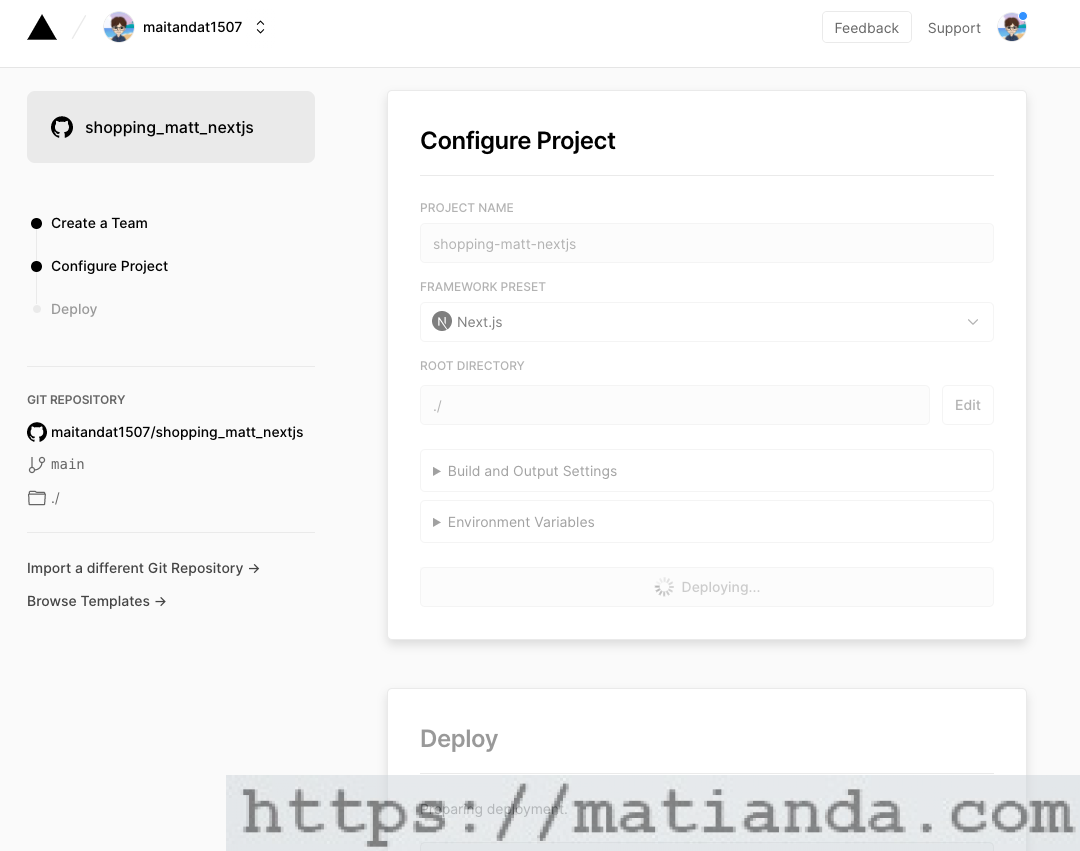
Sau khi đặt tên xong, các bạn có thể để tuỳ chọn mặc định như bên dưới đây và bấm Deploy:
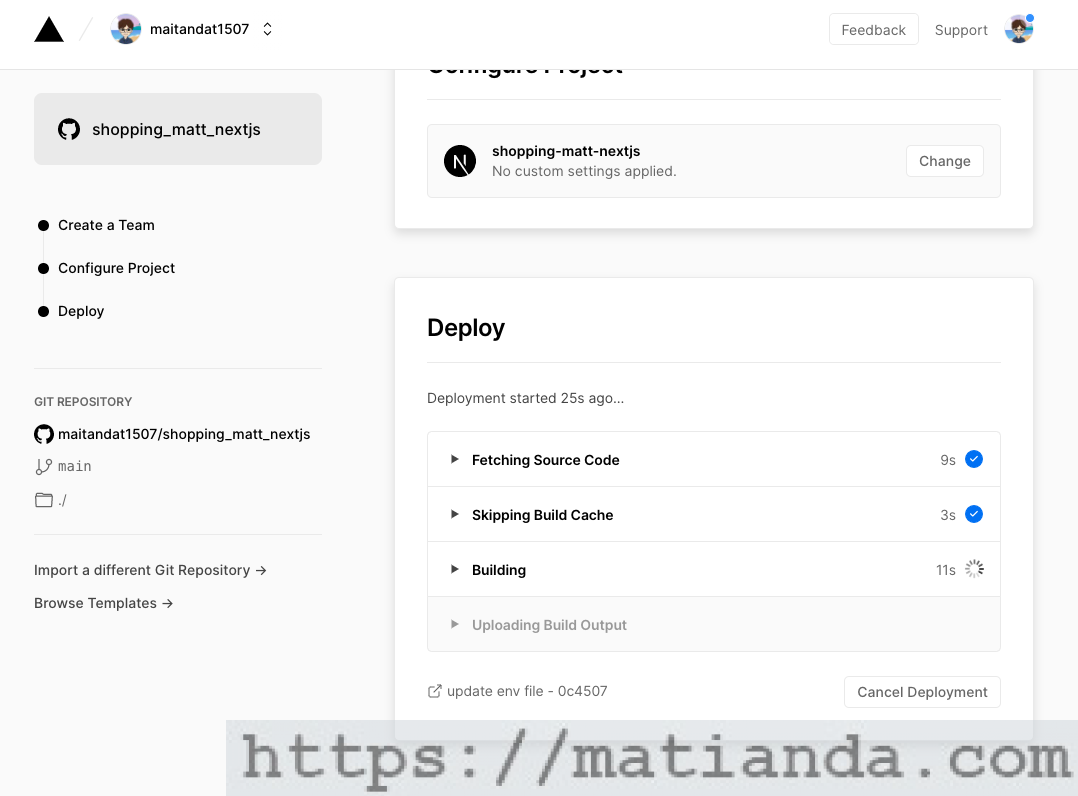

Đến đây thì gần như mọi thứ đã hoàn tất rồi.
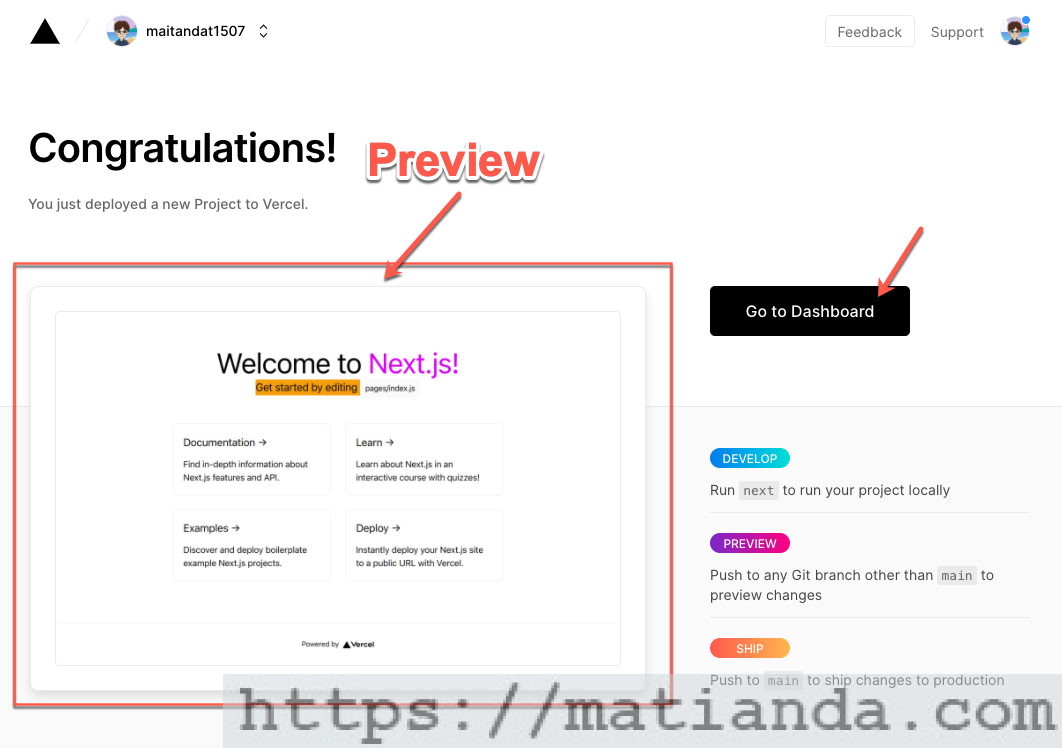
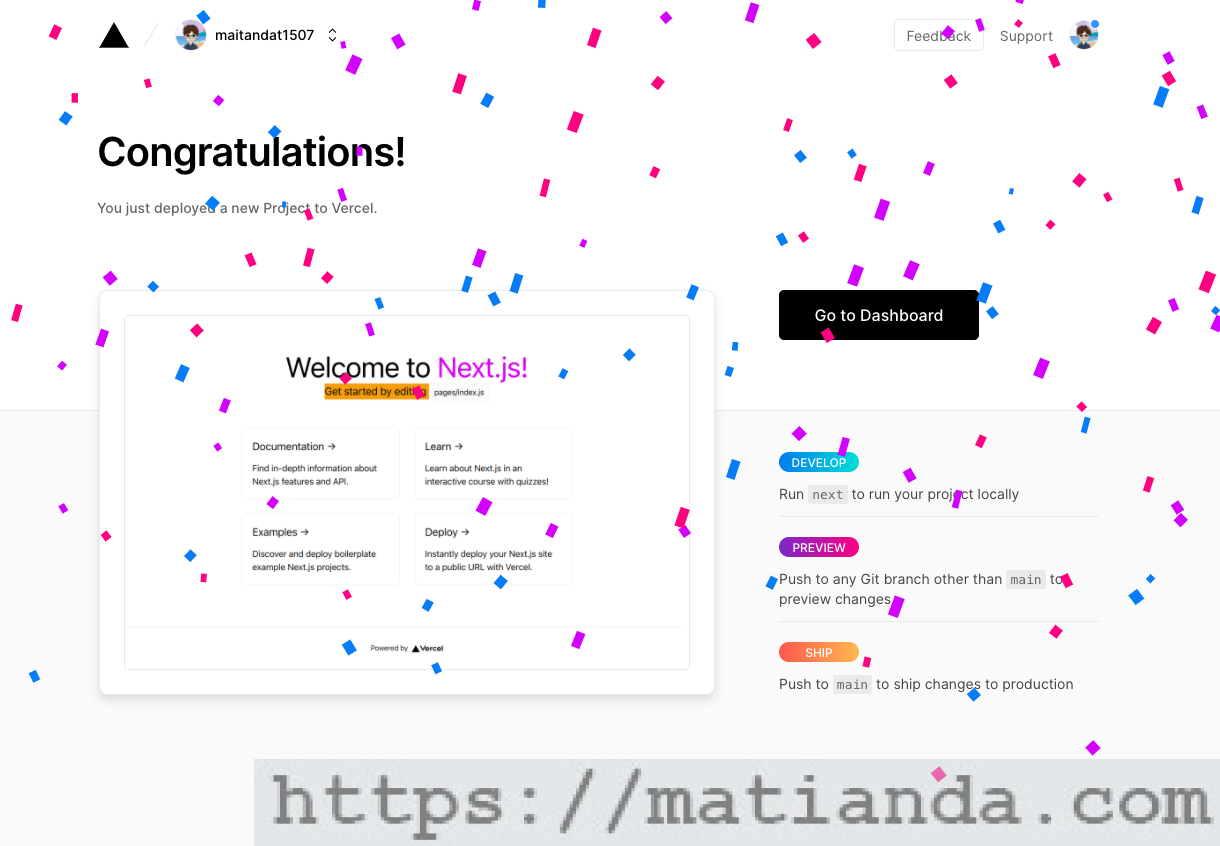
Click thử vào Go to Dashboard để xem bên trong có gì.
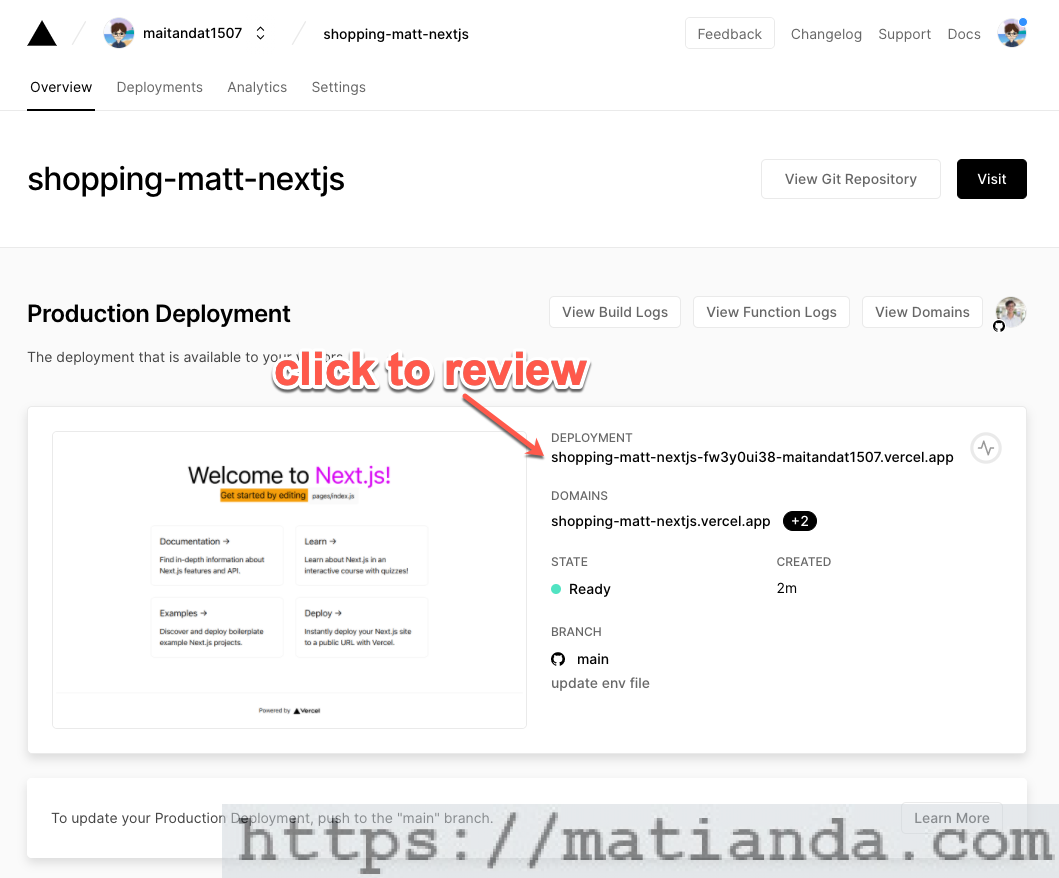
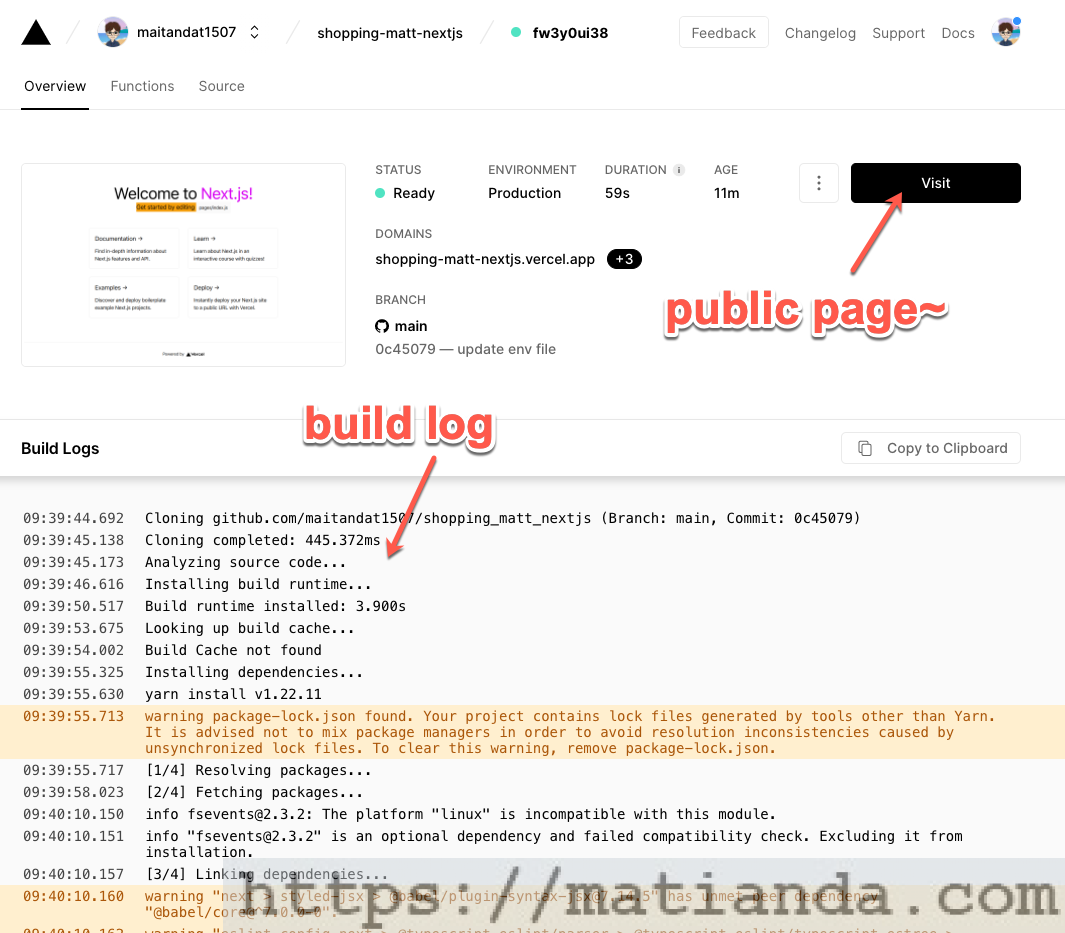
Giờ thì bấm chọn Visit để cùng chiêm ngưỡng thành quả xem thế nào nhé!
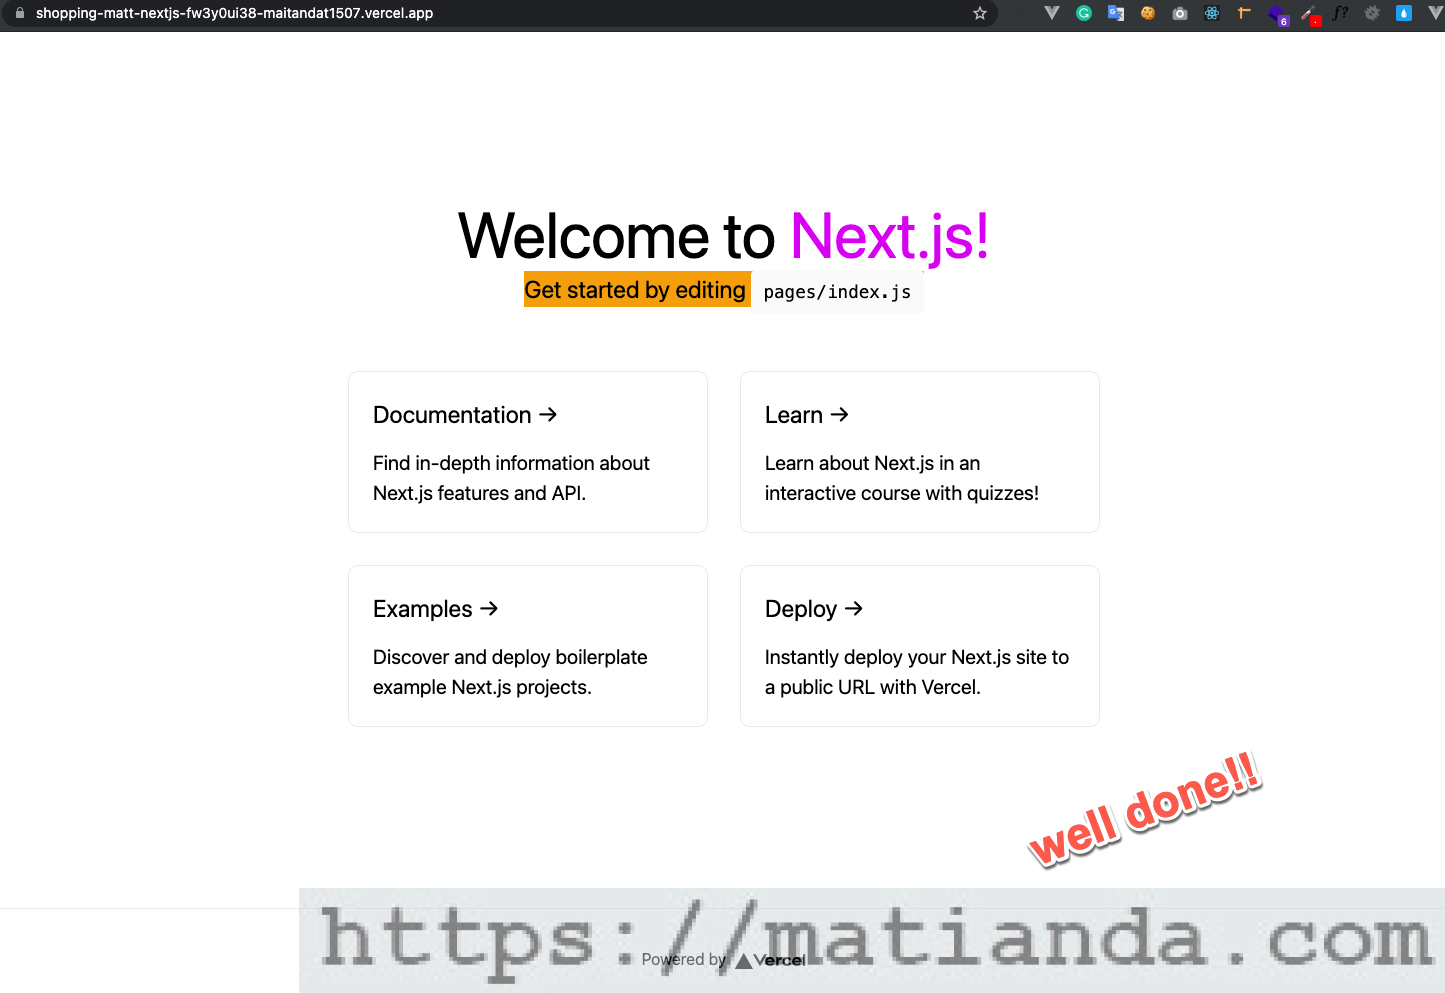
Vậy là chúng ta đã deploy thành công project demo NextJS lên production bằng nền tảng serverless Vercel rồi! Wohoo 🎉
Tổng kết
Sau bài viết này thì chúng ta đã hoàn thành các mục tiêu:
1- Cài đặt demo project dùng NextJS
2- Biết cách tích hợp SCSS/SASS module loader
3- Biết cách tích hợp TailwindCSS utility-first CSS framework
4- Deploy lên production bằng nền tảng Vercel serverless
Chúc các bạn demo thành công!
Tham khảo:
- TailwindCSS with Nextjs: https://tailwindcss.com/docs/guides/nextjs
- Introduction to Vercel: https://vercel.com/docs/introduction
- Adding Component-level CSS: https://nextjs.org/docs/basic-features/built-in-css-support#adding-component-level-css